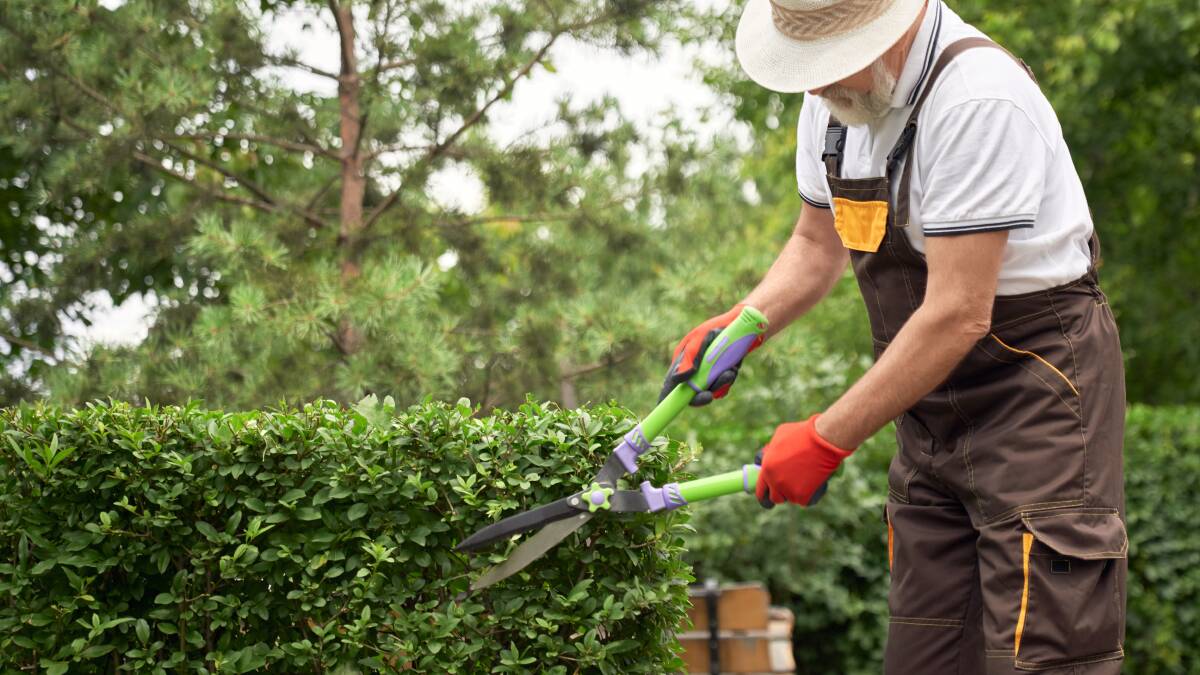
Hedge trimming techniques for a picture-perfect garden

This is branded content.
Together with the flowers, potted plants, and trees, another asset you can have for a beautiful garden is well-maintained hedges. They can serve as your garden's attractive borders and add shape and structure to your yard. Besides their added aesthetic appeal, research also states that hedges can work as barriers against roadside air pollution, particularly for homes situated on highways.
However, in order for your hedges to contribute aesthetically and functionally to your garden, you'll need to learn the proper hedge trimming techniques to keep them healthy. To help you achieve just that, this article will break down the steps, helping transform your garden into a work of art.
1 Pick the right tools for the job
Before you start familiarising yourself with the trimming techniques, you first need to have all the right tools. Among the primary ones you'll need are the hedge trimmers. There are several types to choose from, and they're made for different purposes.
To start, you have the electric hedge trimmers. As their name suggests, they're powered by electricity. They're considered the go-to option for most gardeners because they're efficient and easy to use. Another option is the manual hedge trimmers, also called hedge shears. Since they're used manually, they're more suitable for topiary and intricate designs due to their offered precision and control.
Meanwhile, if you're dealing with larger and tougher hedges, the gas-powered hedge trimmer may be the suitable option. Lastly, for elevated hedges that are simply hard to reach, you can use telescopic ones since they have extendable shafts.
Ultimately, the hedge trimmer you'll need depends on your garden's specific requirements. You can check out BattMow's hedge trimmers selection and browse which one best suits your trimming project.
2 Prepare your hedge
Now that you're well aware of which trimmer to use, it's time to start preparing your hedge. Hedge preparation is crucial to ensure that they're healthy and ready for meticulous grooming. Walk around them and assess their overall state. Check for possible signs of infestation or disease. See if you can find dead branches, discoloured leaves, and any unusual growths. If you spot any of the aforementioned issues, address them as soon as possible before you begin trimming.
3 Know the best time for hedge trimming
Did you know that your timing for trimming can greatly impact the results and appearance of your hedges? The best time for taking on this task is during late winter or early spring. It's during these seasons that hedges can experience new growth after the trimming, helping them have a denser and lusher appearance. However, just keep in mind that timing may differ for various types of hedges. To be safe and sure, research more about the specific type of hedges you have and plan accordingly.
4 Master the art of shaping
This is the point where all the art, creativity, and magic happen! Read on for some key tips when shaping your hedges.
- Use guides for precision
Just like how you use a ruler when drawing lines on paper, the same goes when shaping your hedges. But for the latter, you use strings and stakes. They act as visual aids so you can follow specific curves or maintain straight hedges.
- Experiment with shapes
The reason why hedge trimming is considered art is because you aren't really just limited to straight and simple lines. You have all the freedom in the world to experiment with various forms and shapes to come up with a unique and artistic garden. You can form arches, curves, and even intricate topiary designs.
- Step back and assess
After every cut and trim, regularly step back and assess your progress. That way, you can immediately spot any irregularities and make the needed adjustments.
5 Learn the tapering, layering, and pruning techniques
Here are the trimming techniques you can use to boost your hedges' health and improve their visual appeal:
- Tapering
This technique involves gradually reducing the width and height of the hedges as you move from top to bottom. It helps the sunlight reach the lower branches of the hedge to keep them healthy and thriving. To execute this technique effectively, begin trimming from the top at the desired height. Gradually reduce the width as you work your way down. Preferably, use a slight inward angle to maintain a natural look.
- Layering
This involves selectively trimming branches at various heights for a layered effect. Through this technique, you can add depth and dimension to your hedges. To start, trim from the tallest branches to your desired height. Move down the hedge and leave the branches slightly longer from the previous layer. Repeat the process as you move down to create distinct layers.
- Pruning
Pruning involves cutting particular branches or stems to promote natural growth and create a more organic, unstructured appearance. Most people also prune their hedges when they remove dead or diseased branches.
Wrap Up
Hedge trimming is a vital part of creating a picture-perfect garden. By having the right tools and knowledge, as well as adopting correct techniques, you can transform your outdoor space into a work of art. Whether you prefer a formal and manicured appearance or a more natural, organic look, the key is to understand your hedges' specific needs and maintain them regularly.


